Saturday, December 31, 2011

New Year's preparations...

It's the last day of 2011...time to get ready for the traditional Quilt Studio Clean-Up for the New Year!
This time I decided the "divide & conquer" routine is best, so I will look at the areas in my studio and choose one to work on first. You might think a room this small doesn't have areas, but it definitely does!
A place for everything...?
This is by the door, but actually to the left as you walk (squeeze) in. Really, the ironing has to go...that's a big mental road block in a studio! And how can I open the nice, labelled boxes when small items have used the lids as a landing spot?
Why the door doesn't open completely
Why, yes...this whole mess does collapse under the force of gravity upon occasion! And what you can't see on the floor is a stack (there's a box under it somewhere) for things to get rid of....one may ask why they are still there!
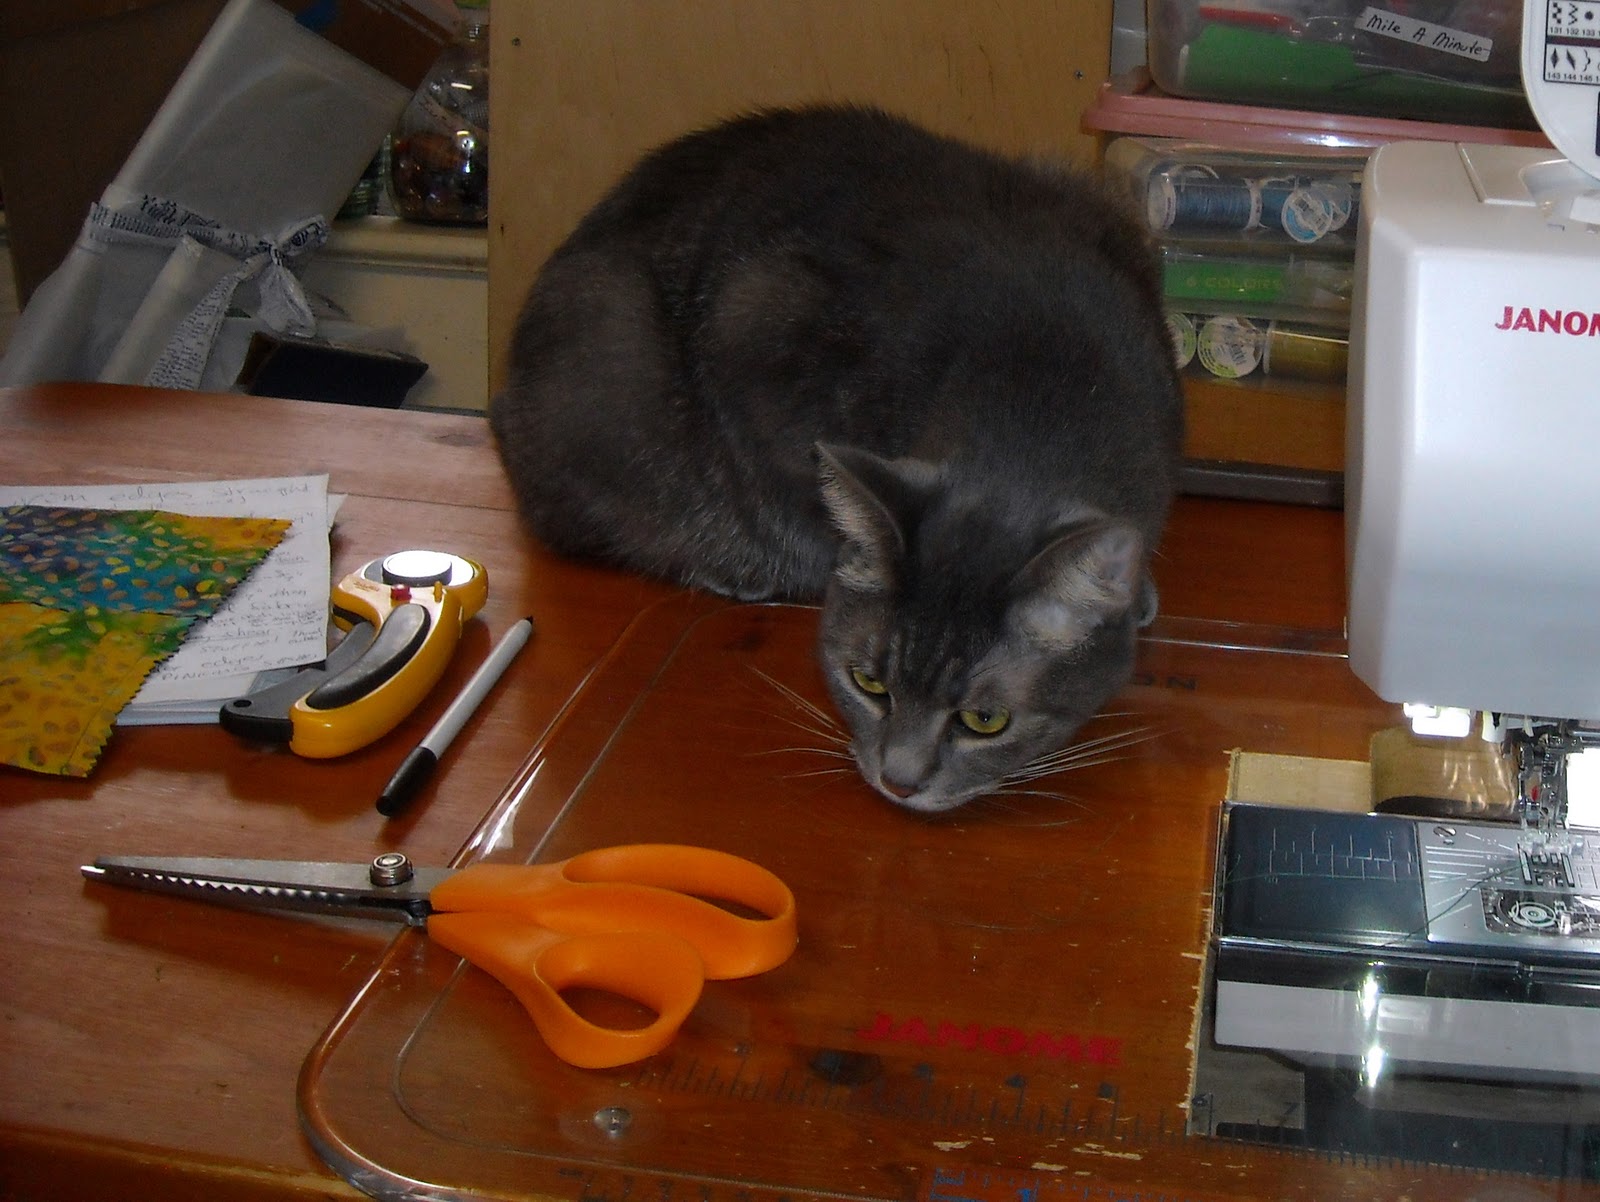
Ah...a new sewing machine!
Here's a bit of a breather...except for the true Neat-Niks, but they've already clicked away to another blog by now, if their hands weren't shaking too much.
YOU CAN SEE THE FLOOR!
But the trash basket is full. At least that's easy to fix.

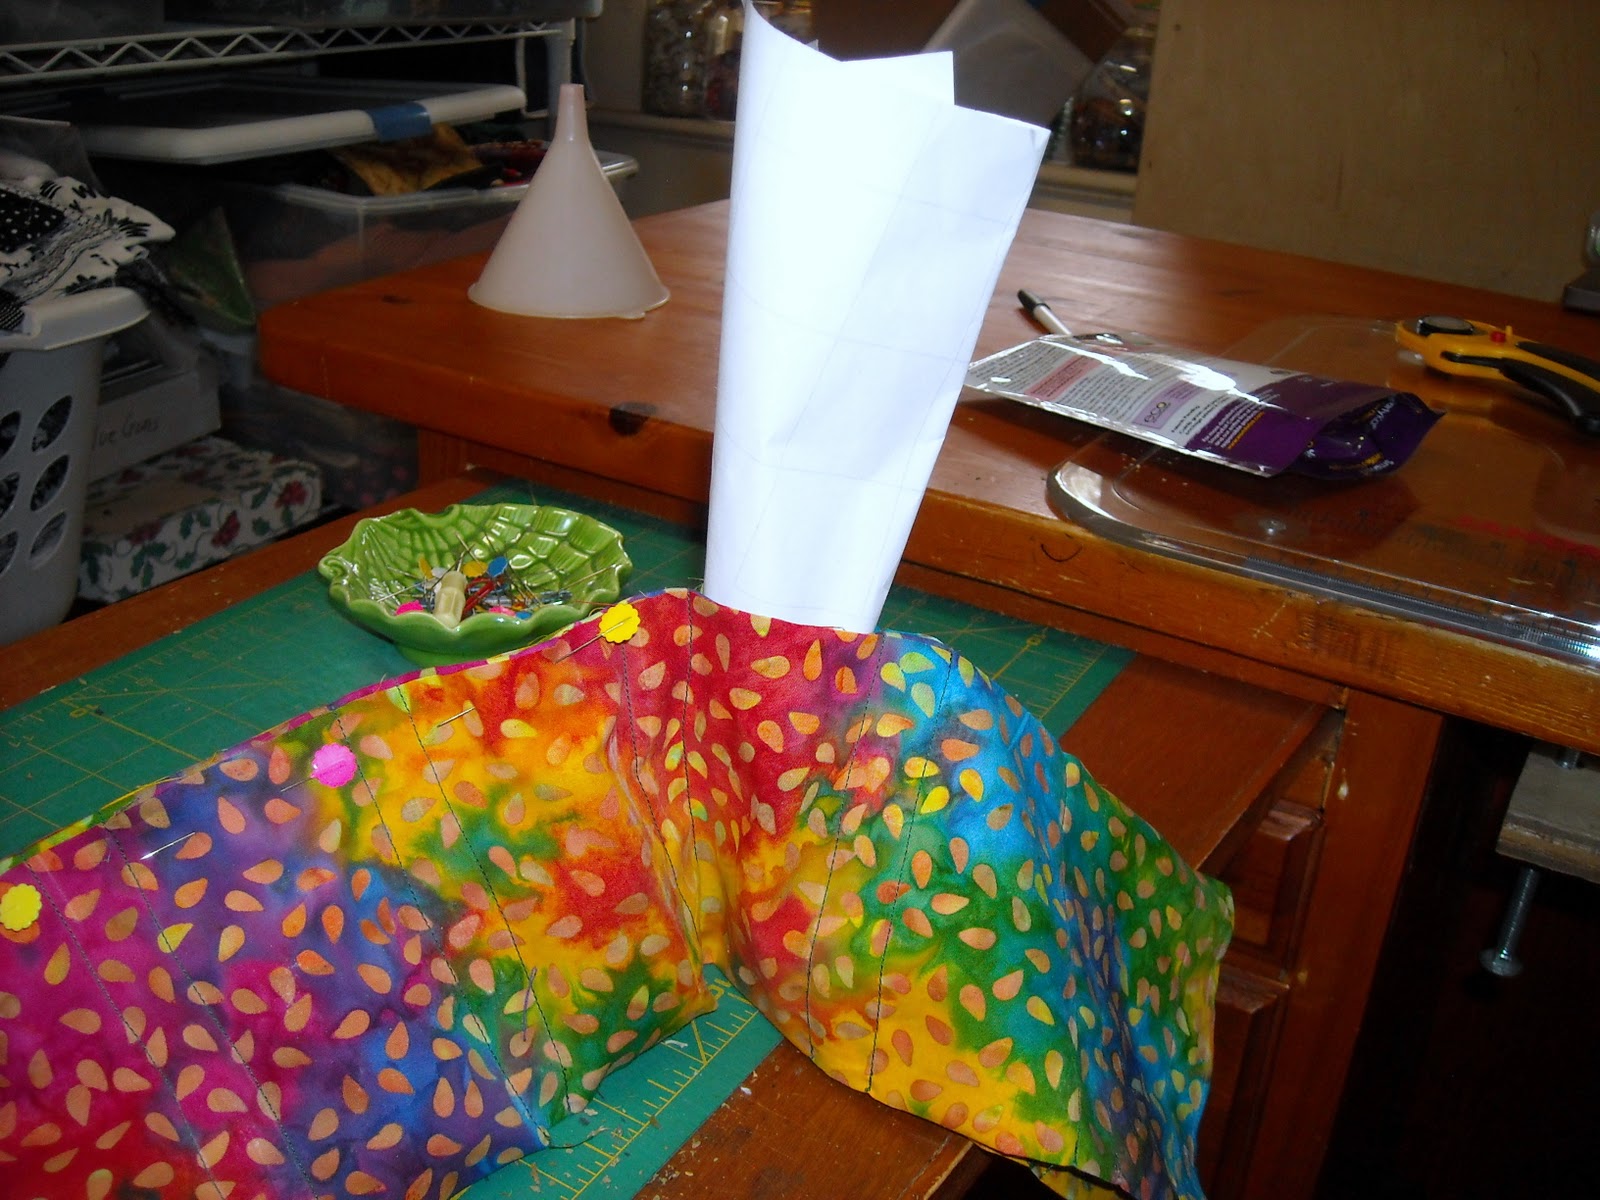
Really...this is a cutting table!
This is to my back when I'm sewing. It's a very good example of how any horizontal space collects stuff.The plastic box contains a lot of decorative threads, and it has a place to be put away in, too!
I'm sure if you like TV shows such as "American Pickers" and "Storage Wars" you are really enjoying this post...and you're wondering what all is on those shelves in the background.

This is:
The WOW factor
I know the vinyl I need for the Betsy Goldsmith applique class is in here somewhere...down on the lower left is the home of the Infamous Over-flowing Scrap Basket, my lecture prop. 
But the place that really needs clearing out the most has to be here:
Total confusion...or is it?
It's a mess, but I do know what's in there! It's the magnet spot for all UFOs and other things that need to be set aside temporarily...like maybe for 5 years or so!
This is the ideal place to start the clean-up, as these items are beginning to block the way to my sewing machine.
But no matter how cluttered it gets, I will never utter the words "I can't get in there". That is a bad sign, friends...it means you are not able to get to your creative work, and that's the beginning of the end!

If you ever reach that point, let me know and I will come over to help you shovel a path to your sewing machine. Do not, under any circumstances, allow yourself to be cut off from sewing, gluing or whatever it is you love to do. Even the tiniest bit of creative action keeps your soul alive.


OK, I'm ready now to do battle with my PackRat side. Like battling the Dark Side, it's never-ending...but it is a lot more fun and colorful!

.

Friday, December 16, 2011

A Fast Gift for Feline Friends

Next to the cardboard box from a package, a cat's favorite gift is a catnip bag.
I wanted to give something to my cat Shayla and to my friends' cats, so here's a way to make a lot of catnip bags really fast. And no turning needed!
Start with a nice batik Fat Quarter (18" x 22")...it has a good tight weave to stand up to teeth & claws, plus you'll enjoy seeing it as it appears in odd places around the house!
So pretty & bright!


1)  Trim the edges to makes them fairly square/ straight if they aren't already.
2)  With the wrong side up, fold the long edges in to touch in the center. Now you will see the right side of the fabric. 
3)  Start at one end and mark a line 1/2--3/4" inside. Then mark at 2" and then 1/2"  and 2" until you get to the end.You do not need to be fussy about the measurements. I used a chalk marker. You need the 1/2--3/4" at the end on the right, too. Just cut off any extra fabric.
This will make 14 bags that are approx. 2" x 4"
4)  Set your stitch length a bit shorter than usual, and just sew right on top of the lines. Or sew on and off the lines. Nobody is going to notice, and the cat will be too high to care if the lines are "straight".
Don't worry about the open edges yet!
5)   Backstitch at the start and end of each line.
6)   If you have a thread cutter button on your machine, this is a great time to use it! My new Horizon has one, but I sewed half the lines before I remembered to use the automatic cutter....maybe I won't forget it from now on!
7)  Fold the piece of fabric along the center so all the openings are going up.
Home-made is so often better than store-bought.
8)  I made a paper funnel to get the catnip into the bags. You can see the plastic one that did not work! Make the opening about the same size as the bag (2"). I just rolled a piece of scrap paper and taped it.
9)  Start at one end and fill the bags. I stuck my fingers down inside to sort of separate the layers in each bag, giving the catnip a place to go. 2 tablespoons is plenty for each bag...of course, I just eyeballed it!
I ran out of  'nip and have empty bags on the right end!
10) Pin the bags shut if you think they will spill as you're working along the row. In fact, you may want to do the filling over a box lid or tray to catch the extra catnip...you know I always make a mess!
Closing the bags
11)  Sew along each open edge with a long seam. You could backstitch at each intersection with the bag sides, but if you use a short stitch it's not really necessary.
12)  Now get out those pinking shears and cut all the bags apart!
Do you know where your pinking shears are???
13)  Cut in between the bags, too...it does not matter which way you cut first! 
Too cute!
14)  Yes, that's 3 pinked edges and one fold.
 I ran out of catnip, so those four bags were just cut off the end and can be filled & stitched shut later.
Shayla offers to help "clean up".
So there are 10 catnip bags to make my fur friends feel happy this holiday season, and it took less than an hour including selecting the fabric.


I don't have any doggie friends to make gifts for this year, but if you do, I suggest making a collar cover...just sew a tube that is longer than the collar so it scrunches up when you thread the collar end through. Pick a color that the owner likes...the dog is color-blind and does not care!
My DIL noticed that the napkins at an import store would make really cool bandanas. That would also be a good idea, because many dogs look great wearing one!


Hope your holiday sewing is going well...let me know if you have any good quick & easy ideas to share!


Sunday, November 13, 2011

Jelly Roll Race with All Stars

Trends move fast in the quilt world, and the Jelly Roll Race is certainly one!
A roll has 42 strips that equal about 1600"!
It seems like everybody has a "jelly roll" of 2.5" cut strips....a marketing idea from Moda that passed into common usage almost immediately. And despite a rash of pattern and project books designed to use them (and their cousins of bakery-themed pre-cut squares and other shapes) they seem to hang around for awhile. You probably have one!
The Jelly Roll Race is a fun way to use up a roll, and the All Star Quilters had a competition at their recent retreat.


Several people brought their own roll, but everyone also found a roll in their "goodie bag" upon arrival...truly a heroic effort by the Retreat Committee, who cut & rolled them all!
Featherweights were still stitching on after some computerized machines bit the dust!
The idea is simple: connect all the strips into one long piece, fold and cut in half, then repeat about 5 times.
Of course, it's not quite as easy as it sounds, and those who had helpers to untwist the strips sewed a bit faster!


When it's done, you have a cute quilt, perfect for a child's gift or a charity project.
Traditional picture of taking a picture of another photographer
Strips can be joined with a straight or diagonal seam
If you didn't already click on it above, do check out the Jelly Roll 1600  on YouTube to see a group of ladies showing how it is done.

Wednesday, November 2, 2011

Ain't Afraid of No Judge!

I had a wonderful time with the Honeybee Quilters Guild last night. My talk was "I Ain't Afraid of No Judge", which attempts to get quilters comfortable with entering a show. For truth in advertising, I bring quite a few of my quilts with the judge's critique/ comment sheet pinned right to each one for anybody to see.
That's "Perky Old Men" on top at the left, then "The Spicy Quilt" in the center, and my latest, "Shining Sea" on the right.
That black and red checkered border belongs to "The Black T-Shirt Quilt", the black & pink peeking out at the bottom is "Roxanne's Honeymoon" and the corner at the bottom right is "Autumn Glory".


Many quilters are afraid to enter their quilts in a show because they will be "judged". Well, all that means is some body with a lot of experience is going to spend maybe 2-3 minutes looking over your quilt, and give you some helpful comments. That judge will never see all the things you know you might have done better.
A trained judge (NQA certified, for example) will be mostly looking at what's right about your quilt, and maybe give a comment that nudges you to do better. (yes, I did have a tension problem on my machine! yes, I should be more precise in my piecing! Did I already know that? YES!) 


Many local quilt shows are open entry, either to the sponsoring guild or the public. That means if you get your entry in on time (and pay attention to the other rules) your quilt will be shown.
Most of the larger national shows are juried first. That means you send in pictures and a panel of judges decides which entries will be in the show. That's necessary for one like Quilt National where there are over 1, 000 entries and only room to hang about 80. So you can feel proud just to get into one of those!


Many times there is not much difference between the winners in any category, and the judge is placing them in some order because people want awards! So don't be too concerned over why something got one ribbon and not another. 
OK, we'd all like to get that first place blue ribbon...and the people who do have usually spent their time paying attention to details (like going back to make sure those points match). The rest of us have moved on to the next project!


It's fun to see your quilt hanging in a show, and it's a great motivator to do even better work. So whether you are a real competitor (a true sport in itself!) or just someone who likes what you made, and wants to share it, don't be afraid to enter a show!


Monday, October 31, 2011

Four years of Patchwork Pie

Happy Birthday, Patchwork Pie! It's hard to believe this blog is four years old.
Thanks to all my fantastic Followers (who have re-appeared on the side bar since I switched to Chrome for my browser), and also the many other people who drop in for a piece of pie occasionally.
I wanted a pumpkin pie to celebrate today, but the bakery sold out already by 1:00.
So here's a picture of pie in Paducah, which is a very good place for any quilter to be!


Tomorrow I'll be visiting with the Honeybee Quilters Guild. They meet at Cinnamon's Quilt Shoppe right here in Jacksonville. Not only are they part of the seven-guild group who put on QuiltFest every year, they also have a great annual "retreat" in February with several national teachers.
We're going to be talking about quilt shows and why "I Ain't Afraid of No Judge!" (that's my new lecture). As always, it should be a lot of fun! I will bravely expose my judges' critique sheets, most of which note the machine quilting knots on the back...
...as if I didn't know!


Sunday, October 30, 2011

Business & Busy-ness

Tomorrow is the birthday of Patchwork Pie, and I am feeling guilty about neglecting my posts!
Sometimes a person just gets tied up with so many things, nothing gets done. That's a good time to ask: Is this business...or it just busy-ness?
I bought a wonderful new Janome 7700 Horizon back in August, and this is as far as I've come:
It's about 1" too wide for the cut-out previously home to my Pfaff 1475. I'm hoping this is the week it finally gets installed. I'll use the extension table that came with the machine to go around the free arm, which means I'll have to adjust the shelf (it is hanging in there on screws) so the machine is just a tad bit higher than the edge of the desk.
I hope that is not too high to keep the pressure foot knee-lift (not in the pic) from working.
I did quilt most of two small quilts while my new machine was on the dining room table. That only reminded me of how terrible it is to quilt when the machine is at the wrong height.


So I have been busy with business, thanks to Cherry-Cherry (AKA "The Business Manager") who keeps me on track. I published the "Shining Sea" pattern, and am now at work on one called "Groundhog Day".
I always wanted to have a Groundhog Day pattern, and never quite found the right idea. Then as I was working on one called "Monkey Business", I discovered that there are are currently several patterns with that same title!
This was a no-brainer....it is now called "Groundhog Day", and you will understand why when you see it.
For those who made the "Monkey Business" quilt in a Mystery Quilt class, it's almost--but not quite!-- the same pattern.


It's a busy week coming up here! I have to celebrate the Patchwork Pie blog tomorrow, then lectures to give for two different guilds in town, the Bad Girls Pie Club is meeting Thursday, and Saturday is a quilt guild Tag Sale. After all that is over, it's time to sneak off for a 4-day Quilters Retreat.
Whew! Hope you are also busy with good things. 


Monday, October 3, 2011

QuiltFest 2011 catch-up

QuiltFest, the local show that has grown to regional status, flew by this year. My mind was involved with so many things I did not get nearly the photos I wanted...but here's the one you want:

BEST of SHOW
"Tree of Lfe" by Wilhelmina Vandevoode (Sieverville, TN)
This hand-quilted beauty is really a work of art. The details are outstanding, with too many techniques to mention!

Wonderful applique work is emebllished with tiny embroidered leaves. Notice the subtle color changes throughout the quilt!

The beadwork was so tiny I couldn't even get a good close-up!

And the reason QuiltFest hangs the Best of Show by itself...to make the back easy to view!
All these things go into the judge's decision about Best of Show, which is chosen from the first place winners in all the categories.

I had nothing to do with it, so The Sunshine State Quilters Association raffle quilt won the blue ribbon in the Collaborative Quilts category!

SSQA 2012 Raffle Quilt
"Batik Garden"
(from Mary Sorensen's pattern "Delectable Pathways")
What a beauty! It should raise a lot of money for the grants program SSQA has to help Florida groups do quilt-related eductional and charitable events.

My quilt did not really deserve an award, but in the same category (Intermediate Pieced Duets, menaing two people worked on the quilt) this one did:
Honorable Mention
"Stars and Rosettes, My Version"

Elfriede Echt (Jacksonville, FL)

That's a lot of little hex shapes! Love the two-tone purple border!

My quilt? It's my latest pattern, finally being published this week:

"Shining Sea"
Sunnie Malesky
The pattern has two smaller quilts, just the Day part and just the Night part, plus instructions on how to make a reversible quilt. Lots of fun, and super easy blocks. This was originally designed for my Personalized Mystery Quilt class in 2009 for the Seaside Piecemakers in Satellite Beach, FL.

Well, that's it! Pitiful, but I'll do better next time.
Now that cooler weather has arrived in Florida, it's time to get busy.
I'll be taking my famous Over-Flowing Scrapbasket down to the Ocean Waves guild in Miami this weekend for a lecture, and two classes: Trapunto By Machine and BLOOMS.

Thursday, August 18, 2011

Janome Horizon 7700

The Janome Horizon 7700 is mine at last!
It didn't even make it to the studio yet. I had to unpack it right away on the dining room table (AKA the-home-of-all-art-projects-since-nobody-eats-here-except-on-holidays).
Ah, that smell of fresh plastic & Styrofoam! But right away I see the manual, the legs for the extension table, and a bag full of feet, bobbins and other goodies.

Ah, the machine finally appears, with the table and "semi-hardcover" tucked beside it.
This machine is big, but suprisingly not quite as heavy as expected. I do not plan on doing a lot of travelling this this one, anyway. (NOTE: 8/26/11 It really IS a heavy machine...I must have been so excited when I brought it home that I didn't notice!).

Ta-Dum! All plugged in and ready to go! I chose this machine for the extra room to the right of the needle.
I also chose it because I like my sewing machine dealer ABC Vacuum & Sewing Center  (ask for Pam!)and this is the brand she prefers now. I have a small Janome Jem and like it very much.
Bringing a new machine home is just like a new baby...
I have to show it off from all angles! Right now it does not have the special spool holder add-on accessory that will go in the two holes at the top. But I got that, too, because Cherry-Cherry says it makes a real difference for the thread feed on her big quilting machine.

The double-bin free arm surround has lots of storage, but when I finally get this installed up in my studio it will never be on the machine. DH Ed will cut a larger hole in my sewing area...and I'll just save all that story for another post!

There's lots of storage on the top, too. That spindle laying down there can hold a second spool when it's stuck in a hole, and can also be used for winding a bobbin if it doesn't have to come off the sewing spool. This bobbin winder works great! It's been awhile since I had one I could trust. And talk about bells & whistles...in this picture, just to the left of the bobbin, is a thread cutter!

Oh, yeah...it definitely has more stitches than I shall ever use. Here they are from left to right!
Instead of boring you to death right now with too many pictures and details,(remember, it's like bring a new baby home! ), I'll  share things as they come up.

Very pretty stitches, front and back, with the 7 feed dogs this machine has! I am looking forward to some more precise sewing...and I haven't even used the fancy feed system yet.
So...why is this machine on my dining room table, and why am I not playing with all the fun new features?
This is why:

Up in Ye Olde Studio, I'm in the middle of a quilting job on the Pfaff1473. If it survives two more years, it will be old enough to vote!
This is a large baby quilt and there's another with a related matching design. I'll quilt that one on the Horizon ....what a good comparison they will be!
Yes, there is a reason I got the Horizon right now, after thinking about it for a year. I'll share that story in the next post.

Tuesday, July 26, 2011

Folk School class in March

The new catalog is out for the John C. Campbell Folk School (Brasstown, NC)!
One of my greatest joys is to be teaching there the week of March 4--9 next year.
I'll be teaching the Campbell Folk School Quilt again. It's my design, using traditional patterns to tell the colorful story of how the school was founded. But there are 30 more block patterns included so you can personalize it, make it as big was you want, or whatever! It's sort of like an excuse for quilters of all skill levels to get together and have some fun. And who wouldn't want to spend a week here:
It's like a Dream Studio! With design walls all around, ironing surfaces, etc etc etc.
If you want some time out of the studio (though many at the school like to do their 6 hours of class per day and then go back for more work time in the evening) you can find dancing, music and other activities in Keith House, the heart of the school:

What else could you possibly want?
Good food...cooked for you by somebody else! The bell rings three times each day and everyone heads down to the Dining Hall:

That's some good Southern cooking, too. And if you're a vegetarian, they have that all taken care of as well.
Housing? Very comfortable rooms for 2 or 3 (if you don't bring a roomie, you can ask for one) most with a private bath. The houses are scattered all through the main part of the school and have names like Rock House, Little House, and Log House.
The top of this post has a link to the school's website...you'll enjoy the pictures!...or click the link below and get the page for my class. Look on the right side for the other classes being held that week, so you can bring a friend or loved one along with you:
 https://www.folkschool.org/index.php?section=class_detail&class_id=5381 .

If you want to read more about my class and see pictures, just type Campbell school into the search box.
It's going to be a lot of fun...I'd love to see you there!

Monday, July 18, 2011

Quilt Binding By Machine

Recently a faithful follwer, the Mysterious Ms. E, requested some information on doing a binding completely by machine.
This is a fantastic way to finish a quilt that is meant for hard use, or one that is not intended as a show-stopping heirloom. It's great for pot holders! And, while I know there are a few people out there who can do this beautifully, it is not considered to be the nicest way to do the binding. The control you have with a traditional hand-sewn finish method will give a much better edge.
That said...let's look at how to do it!

Here are the supplies...I used a gold bobbin and black thread on top in hopes the pictures would be clearer (it's a usable pot holder!).  The quilt block has one layer of cotton batting, and a backing made of blue terrycloth, and has  been "quilted" (stitched through all layers) in a X. You can just stack the layers up and then trim them all to be the same size. I would also suggest that you do a quick zig-zag stitch all around the outside to hold the layers together better...not necessary for a regular quilt, though.
The binding is a French double fold , meaning the strip is cut and folded so the long raw edges are together. You may want to cut a slightly wider binding to finish by machine (2.5").  For a hand-finished binding, I cut it a bit narrower.
Sew the binding on the BACK, as it will be turned to the front. That is so the wonky stitching will show on the back, when it's done, not the front. Just sew it the way you usually do, folding and mitering the corners as you go around. Feel free to skip ahead here if you know how to sew a binding...

This is actually what I do (please do whatever works for you!). Sew towards the first corner, and stop 1/4" (OR the width of the seam allowance) before the corner. Remove the item from the machine, rotate to line up for the next side, and turn the binding strip up so the raw edge is straight in line with the side.
When you bring the binding back down to match the raw edges on this next side, the fold goes right at the top, even with the first side. I am using my fingers to keep everything in place...

...and I continue to use them to hold it all together. Feel free to pin, but I find it is easier to give it the "Pinch O' Death" to move back under the needle. If something slips, I can easily re-adjust it. Sometimes pinning and removing the pin will pull things out of place.
Eventually you get all the way around to where you started...and if you remembered to leave a bit unsewn, you can tuck the end inside the beginning. Or you can use any number of nice ways to sew the ends together...that is a subject all in itself!
Now turn to the front:

Pull all the binding to the front, and check a corner to see how the miter will fold. You are going to sew this the same way as any binding, so you want the first part to go smoothly down to the corner, then the miter forms when you turn the corner.
The difference is that you are going to topstitch right along the fold.
Sewing close to the fold gives it a neat look....the fold should cover the bobbin thread (first line of stitching).
THINGS TO CONSIDER:
...Now the bobbin thread will show on the back, so maybe you want it to be the same color..
...You could match the fold to the stitching line, and in theory it would look like stitch-in-the-ditch along the back side (don't count on it!). There is a fusable thread, which you could use in the bobbin when you first sew the binding on, then you can fuse the fold right where you want it. And do remember to change it out before you go to the front.
...Matching the fold to the stitching line may not allow the edge of the item to fill the binding.
...You could use a fancy stitch with totally contrasting thread.
When we return to the back you will get the idea. Until then, let's keep sewing!
Sew all the way to the end of the side, at the corner. Backstitch, and remove from the machine.
Fold the miter in place, and continue topstitching along the fold.

There you are! Staying close to the fold keeps you from having a flap-like effect along edge.
So let's look at the back now (the bobbin thread is now red instead of gold):

OK, this is the important point...something is going to look funny, unless you happen to be one of those people who take the time to finesse the entire project.  That means "be really fussy"...but thank-you if you are...you give the world something nicer to look at than my slap-dash style!
Now, it is possible to sew the binding on the front, as usual, and turn it to the back to sew down. Then you'd get this kind of stitching showing on the front.
OR  you can sew to the front, turn to the back, but stitch-in-the-ditch along the front...and then you will get a flap on the back side, or not catch the fold evenly all around.
This is why Our Friend the Pot Holder is so good...he allows us to try out a technique so we can understand it, and then have a useful life in the kitchen! None of that wasted "practise time"!

A machine binding is a wonderful thing...but chances are it will not win you any Quilt Show ribbons, as some judges don't like it, even though (as I have shown) it is difficult to do nicely.
But it is very secure, and it is faster than a hand-finished binding, so it has its perfect place in the utility world....which includes a lot of great quilts for kids!