Monday, March 17, 2014

8 Half-Square Triangle Units from 2 Squares

Half-Square Triangle units are the basis of many quilt blocks, so it's good to know some different ways to make them. This quick method gives you 8 units at a time!

Here's the formula so you can make the size you need:
Unfinished size of unit + 1/2"  x  2
Cut 2 squares that size..from different fabrics, of course!
Example : for  a 4 x 4 units 12" block (finished) you need 3½" unfinished units (includes the seam allowance)
3½" + ½" = 4" x 2 = 8" squares to cut to get 8 HST units.


On the lighter square, draw a big X from corner to corner:
Use a pencil (not pen) and make a line you can see. This will be a cutting line later.

With Right Sides together, sew 1/4" away from both sides of both lines:
Stitched in red thread for visibility!

Cut right through the middle of the block, but do not move any pieces!
Be sure the fabric is under the ruler...edge of ruler through middle of the X....line up across any marks at the bottom.
This is just cutting, not using marks to measure anything.

Cut through the middle going the other direction:
Working at the corner of the table, you can just move to the other side.

In case you want a better visual, you just cut where the green lines are in this pic...but don't bother to draw them, just use your ruler to cut....
After these two long cuts, it's OK to move the pieces.

Now you can cut on the lines you drew:
Now it looks like the usual set up for quick-piecing HSTs

Press the units open (usually toward the darker fabric).

They should be the correct size. If not, trim them to equal the size you need.


That was fast and easy...with minimal math, all the units can be used, and the bias edges are never on the outside.

If you have some pre-cut squares, do Reversed Math (divide by 2, then minus 1/2" for the unfinished size...minus another 1/2" for the finished unit size)
5" squares = 1½"  (2½ -½" = 2" unfinished size,  for 1½" sewn in)  tiny!!!
10" squares = 4½"  ( 5" - ½" = 4 ½"  unfinished, 4" sewn in)  another 12" block standard

OK, that's more "math" than I can take in one day. 
And to you Math Majors... I do acknowledge this is actually arithmetic! (Vocabulary I know...numbers, not so much!)

Another disclaimer: (Oh, I know there are a few sharp-eyed readers...)
the demo block squares were cut 12", leaving a rather odd size of 5½" units, but this was created for a large group demo and needed to be seen from afar!


Sunday, March 16, 2014

Fast Batik Clipboard Cover


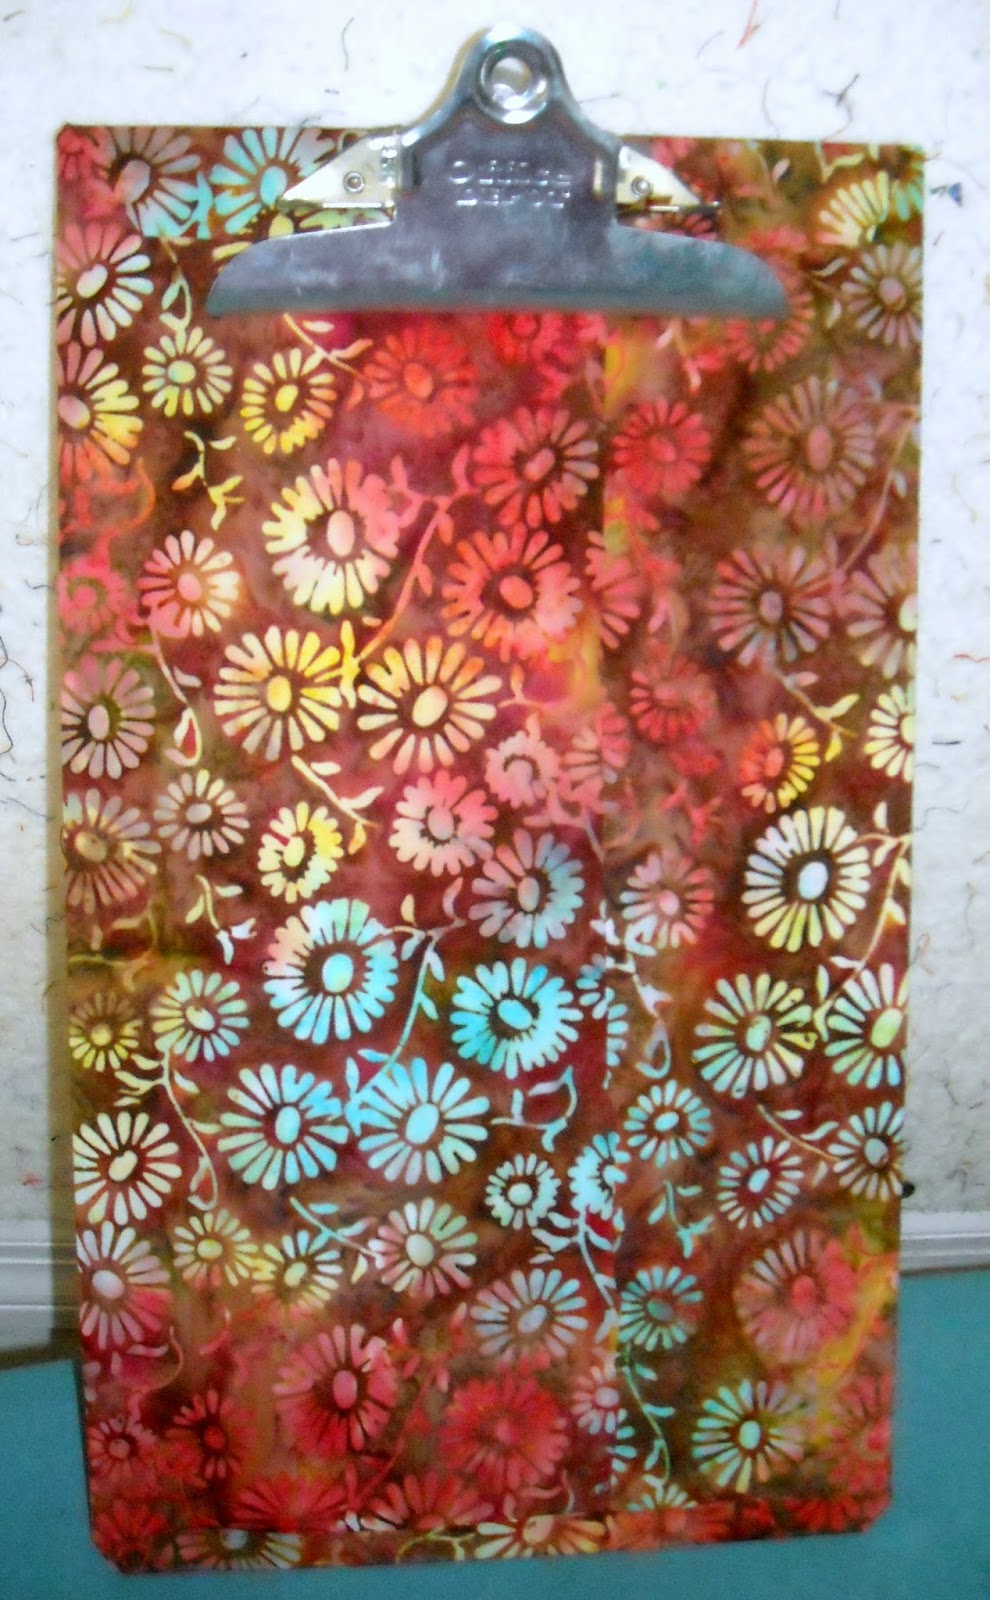
It's perfectly fine to use notes while presenting a quilt guild program, but it's even better to have those notes on a pretty clipboard. Here's a tutorial for making a fast cover. It took me less than 30 minutes. You can use any size clipboard for this.

SUPPLIES
Non-plastic clipboard
Fat quarter-ish piece of fabric 
1/2 yard Wonder Under or other paper-backed fusible web
Iron
Scissors

PREP the FABRIC 
Lay the clipboard on the fabric. There should be enough to fold the sides over to meet in the center (top to bottom) and an inch extra beyond the top and bottom. Check for direction of print, if you care!
Protect your ironing board with a piece of "release paper"...either parchment paper or paper removed from a previous WonderUnder project.
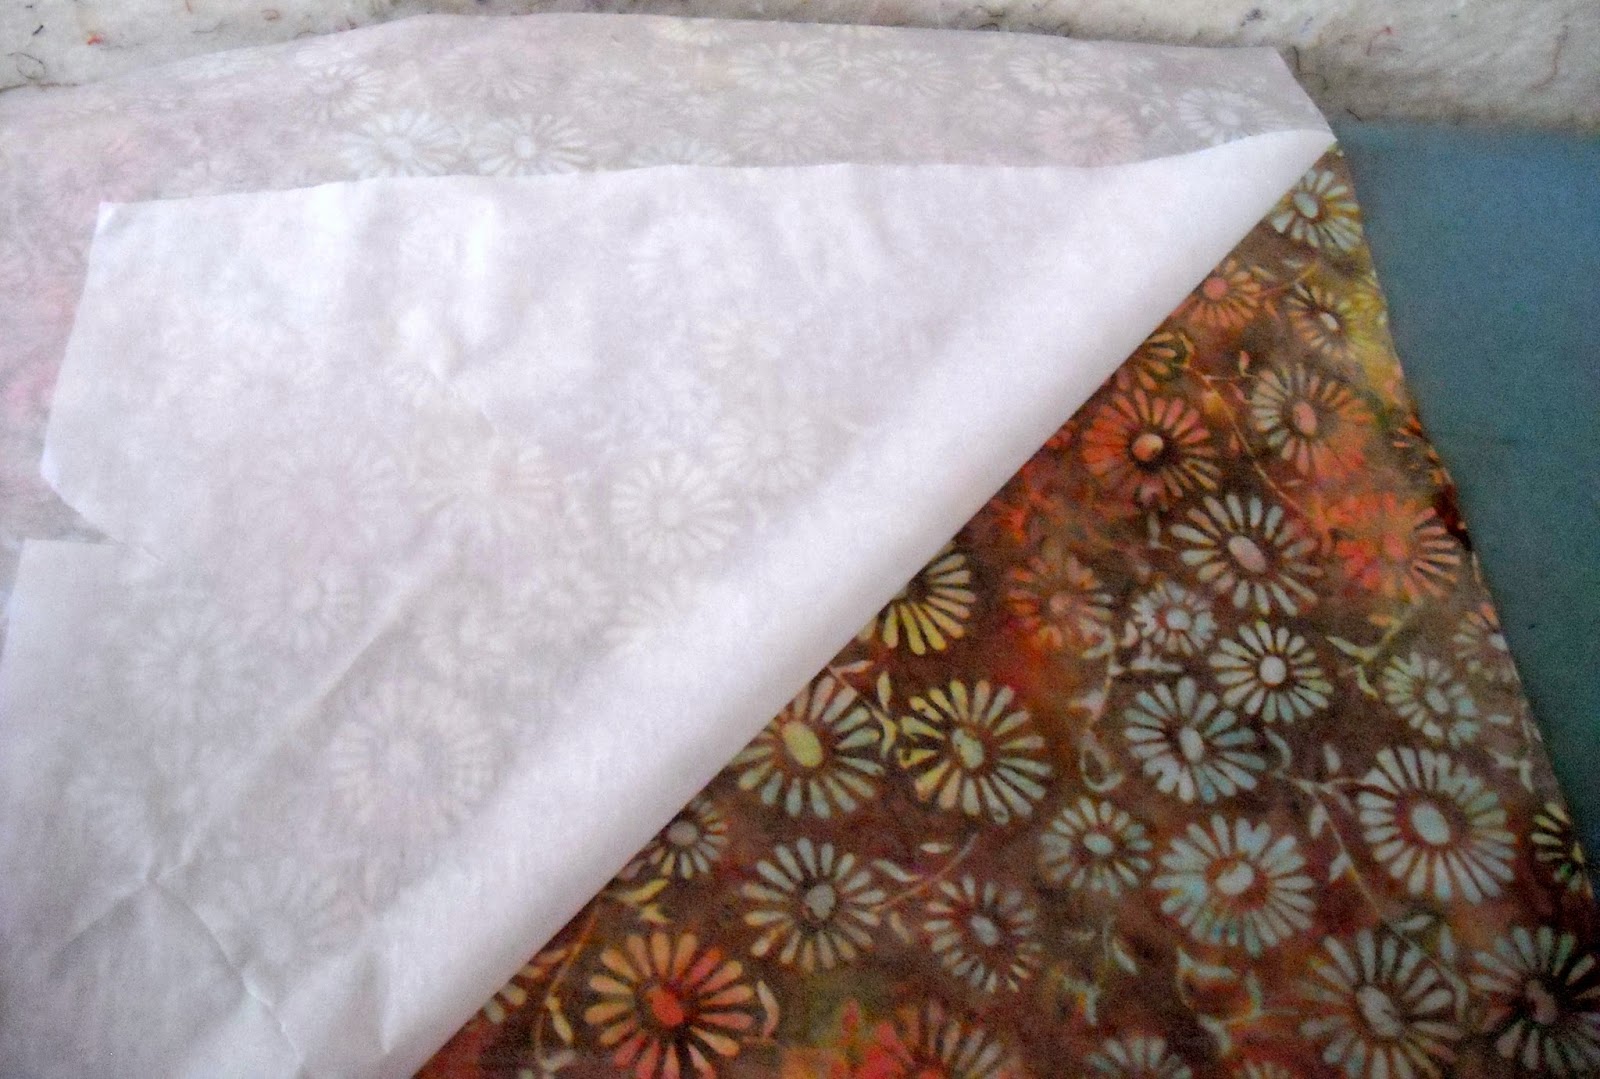
Iron the fusible to the wrong side of the fabric. I just covered the entire fat quarter, because I will use the small part I trim off in another project. And I cut the Wonder Under by just laying the fabric on it...no numbers for me unless absolutely necessary!
You could use a rotary cutter, but you'll still need scissors later!
Trim any fabric that is not fused and any fusible not on the fabric.

Save this paper and see the bottom of this post for some ways to use it again.
Remove the paper after it has cooled off. Save this paper to use for protecting your ironing board with other projects...and later on for this one! It is treated with silicone so both sides are good to go. It is handy for lots of things, and lasts through several pressings. 


COVER the CLIPBOARD


Wrapping to the front
Lay the clipboard on the fused side of the fabric and wrap the sides to the front.


Fold & slide!
Fold back any extra fabric, slide your scissors in and trim. The edges of the fabric can touch or barely overlap. This side will be covered with papers most of the time, and the print will also "disguise" any wobbles. Please feel free to be as precise as you like for any of this...I'm just getting it done!
Stick your scissors between the front and back layers at each corner and snip up to the board.

Paper is between front and back fabric layers, sticking out at snipped corners
Turn the clipboard over, put a piece of release paper between the layers and fuse the fabric to back of the clipboard.
Trim the sides even with the ends
Flip it over to the front again, and with the sides opened flat, trim out a piece at each corner to make the sides even with the top and bottom.
Fuse the fronts down BUT not all the way up to the clip!
Cut the bottom corners at a slight angle, then turn that edge up and fuse it in place.

Don't worry about this...trim it off!
Trim anything that sticks out. My clipboard has curved corners, so it won't make a sharp angle.


Snip and fold as best you can
The tricky bit: Snip and fold to work the fabric around the clip. I snipped down at each side of the metal, then held the clip open and trimmed across the bottom. I could have used a helper to hold the clip open, but sometimes you just gotta do it on your own!
Put the release paper on top of the back fabric, hold the clip open, and finish fusing under and around the clip. 
Trim the back first
Angle trim the corners of the back layer like you did at the bottom, and trim out the fabric behind the back clip part that sticks up (if you have a board like this).
Turn the back fabric to the front and fuse in place. You are done!
Nobody is perfect!
OK, full disclosure...my trimming was not perfect! So I took a little piece of trimmed off fabric and just fused it right over this spot. If you feel the need to cover up any board parts that show through you could also fill them in with a permanent pen. The fused fabric just tends to blend in....especially if you do not point out where you did it!
TA-DAH!
Well, my friends, I now have two lovely covered clipboards and you have a tutorial! (the original one is on my Facebook page).
There is iron-on vinyl that could be used for a nice finish, or one of the fabric protection sprays. I probably won't bother with those, but you may want to keep the clipboard looking really nice if it will be used often.
Or just cover it again if it gets dirty!


I am doing a lot with fusible web right now. If you'd like some more tutorials and ideas for no-or-low sewing projects, check out Laura Wasilowsi at Artfabrik or Frieda Anderson's website.  You can see them on YouTube...just type a name in the search box. Melodie Johnson's blog also has some good tutorials listed in the side bar.

Have fun and let me know what you've been making lately!

Monday, March 3, 2014

National Quilting Month

President's Signature Blocks-- 2009


March is National Quilting Month!

And I think it is no co-incidence that it is also Frozen Food Month. So make just one trip to the grocery, and tell your family that yes, you DO have dinner taken care of!
(oh, I wish I were really that organized!)


UFOs sighted across the country

Ever since January UFOs (UnFinished Objects) have been sighted at guild meetings and on blogs across the country...maybe even the world! The beginning of a New Year always brings out a rash of Good Intentions, and my local guild is sponsoring a UFO challenge for the year.
What incredible timing! I had just basted several tops, so I was ready to go on a UFO bustin' binge. 
When we had the first Show & Tell at the February meeting I came in with five all done! Woo-Hoo!
Of course, they won't be seeing any more for a looooong time, as I'm off on other projects now. But I confess, I did enjoy that one moment of triumph.
We have an official Long List with spaces for 20 UFOs, but I chose the Short List of 8. Finishing the last 3 would be another miracle...but you never know! My true goal was to finally finish all my "President's projects".


A Plethora of Presidential Projects

I only have myself to blame...I have been President of the guild three times (2 years each) over the last 25 years (geesh, now I really sound old!). The first year of a term the president gets blocks made by the members, and if there is a second term she gets a finished quilt. So I had 3 block collections to complete.
The most recent you can see at the top of this page...yummy batiks (mostly)!
This one goes back to 1994, when I received stars in many colors:

President's Stars-- 1994
Each star is sashed with 4 different fabrics to match it's color. I was so proud that I used only my stash for that...back in 1994! Completing it now was a bittersweet task, with several of the blocks reminding me of friends who are no longer with us.
 The next time I was president, they asked what kind of blocks I wanted. I thought blue & white nine-patches would be fun...and I got a ton of them in 2001. They ended up as 3 quilts...one with dark blue sashing, one with light blue (both over twin size!), and a baby sized quilt. Here is the light sashed one (most recently finished):
Blue & White  9-Patches...my husband gets a quilt at last!
Of course, I had a helper for all these projects:
Shayla O'Puss in her glory

Something new!

I'll be doing a workshop for The Art Center on May 17. "Fabric Art Without Needle & Thread" is for artists who might like to use some fabric, but don't want to sew.
It will be interesting to work with non-quilters. I'm thinking of it as a "play-shop" more than a workshop. I'm supplying all the materials so they can learn by making a collage, without having invested in stuff they may never use again.
Stay tuned for more info on that!
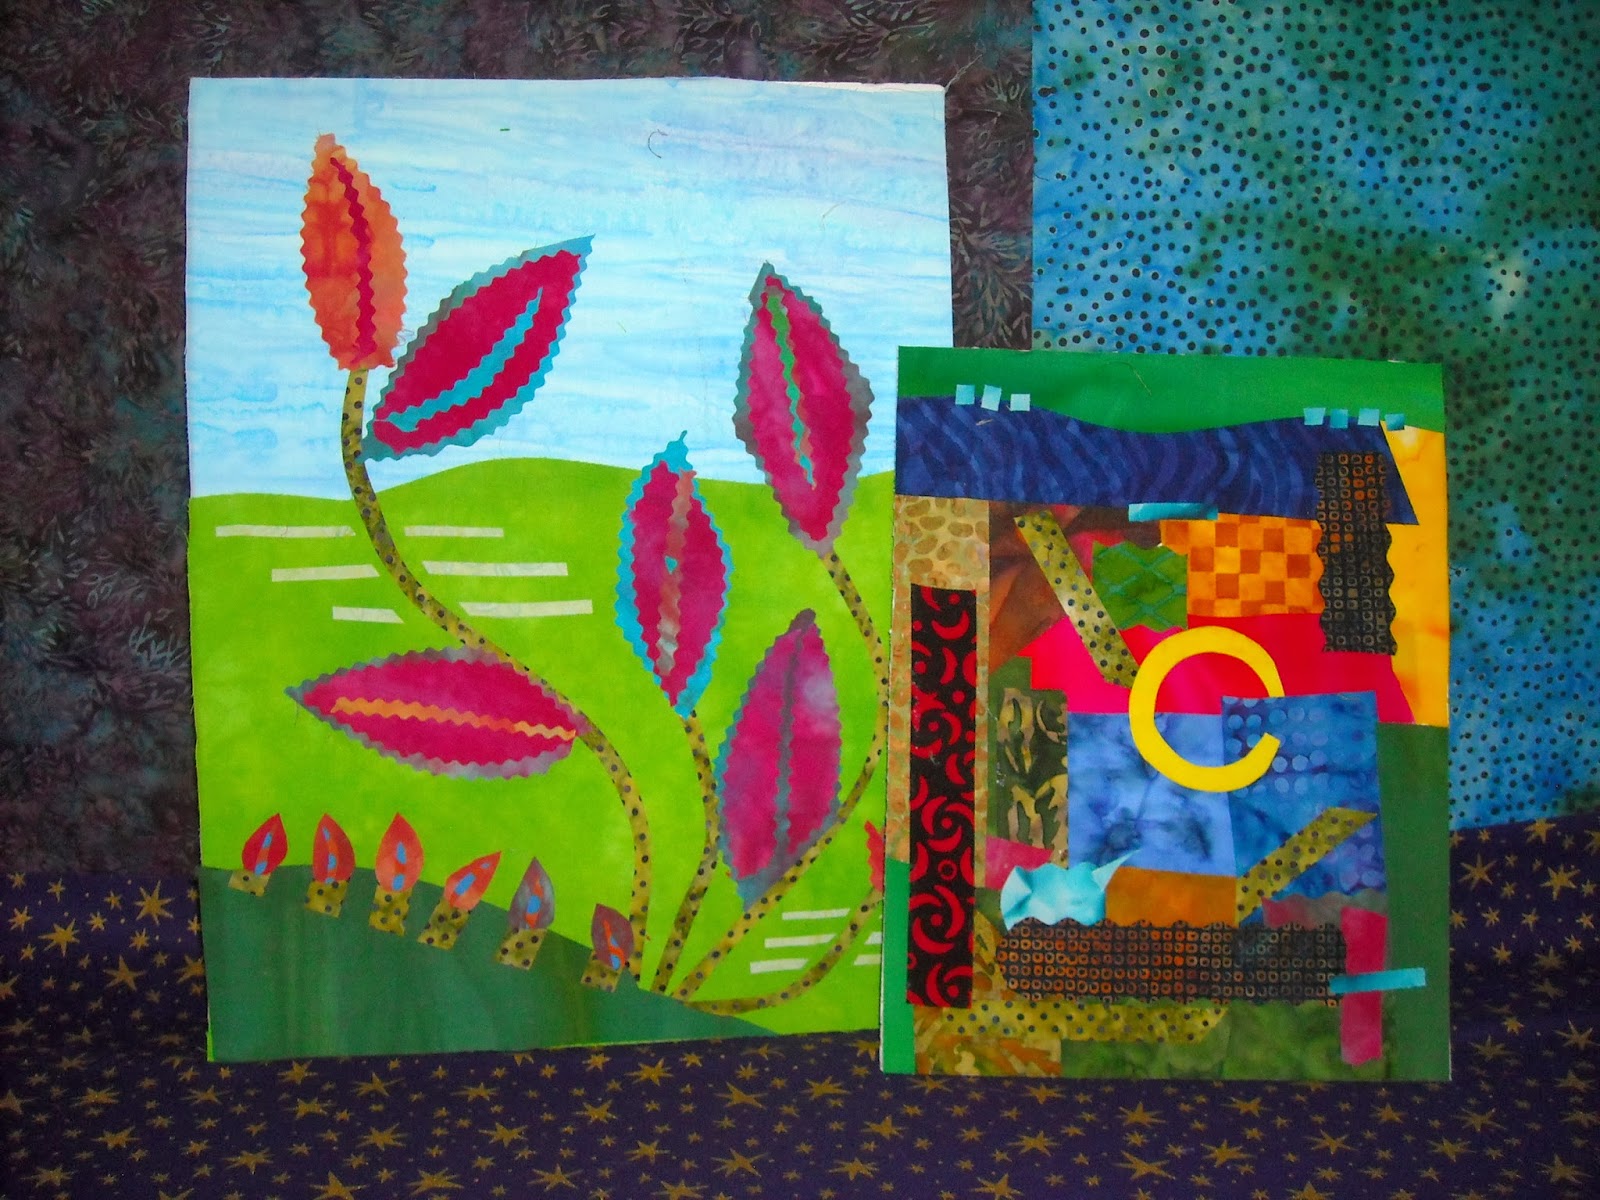
As usual, I had to do something quick for a promo...
Two fused collages
So...what have you been creating?