Showing posts with label cats. Show all posts

Monday, May 28, 2012

Quilting with a cat

Many quilters also have a cat in residence...or are owned by cat, since we know who really runs things!
So any project that takes more than an hour to quilt is going to be a major Cat Magnet, if you leave it in place at the sewing machine.
Working on "Brightest Jewel" ...pattern soon to be published.


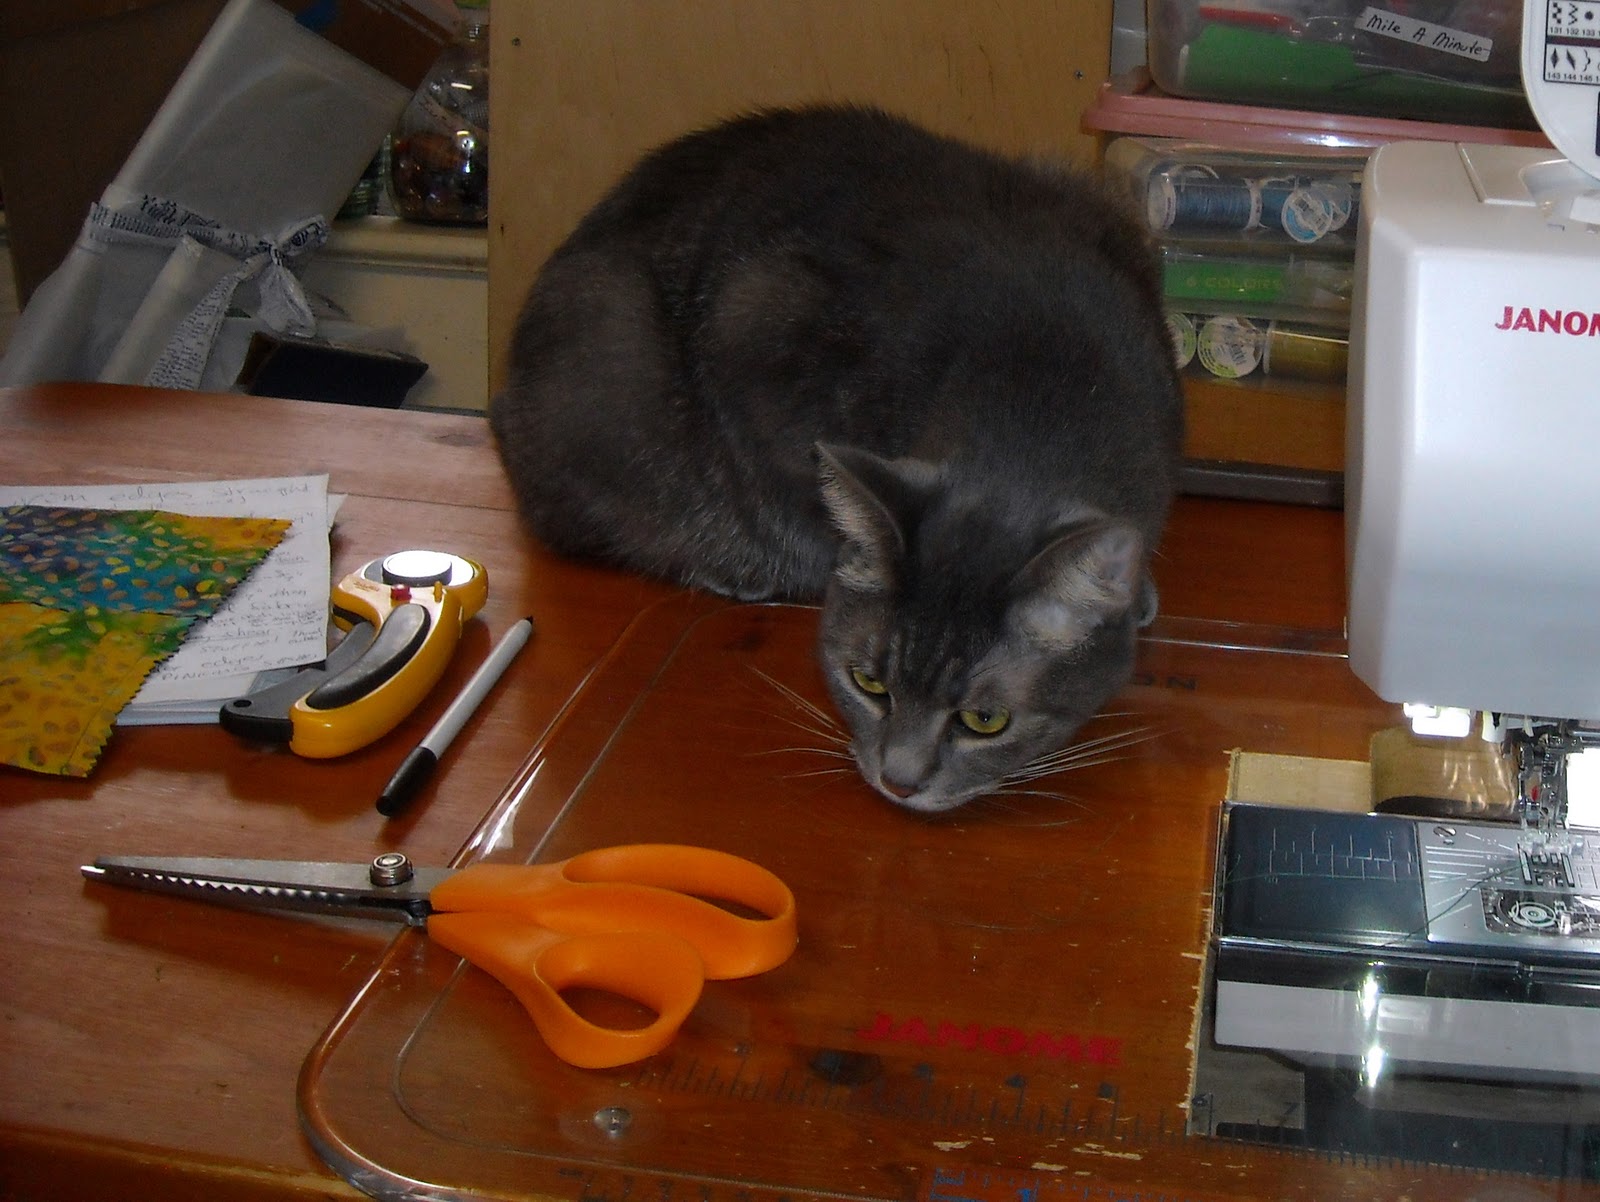
Shayla loves to sleep on a quilt!
Totally snoozed out


Not moving even though she hates having her picture taken

So when you have to leave the quilt, my advice is to turn the back side up.
You won't lose your place on the quilt, and the cat fur will mostly be deposited where it's easier to remove.
I'm going to wash the quilt anyway!

Friday, December 16, 2011

A Fast Gift for Feline Friends

Next to the cardboard box from a package, a cat's favorite gift is a catnip bag.
I wanted to give something to my cat Shayla and to my friends' cats, so here's a way to make a lot of catnip bags really fast. And no turning needed!
Start with a nice batik Fat Quarter (18" x 22")...it has a good tight weave to stand up to teeth & claws, plus you'll enjoy seeing it as it appears in odd places around the house!
So pretty & bright!


1)  Trim the edges to makes them fairly square/ straight if they aren't already.
2)  With the wrong side up, fold the long edges in to touch in the center. Now you will see the right side of the fabric. 
3)  Start at one end and mark a line 1/2--3/4" inside. Then mark at 2" and then 1/2"  and 2" until you get to the end.You do not need to be fussy about the measurements. I used a chalk marker. You need the 1/2--3/4" at the end on the right, too. Just cut off any extra fabric.
This will make 14 bags that are approx. 2" x 4"
4)  Set your stitch length a bit shorter than usual, and just sew right on top of the lines. Or sew on and off the lines. Nobody is going to notice, and the cat will be too high to care if the lines are "straight".
Don't worry about the open edges yet!
5)   Backstitch at the start and end of each line.
6)   If you have a thread cutter button on your machine, this is a great time to use it! My new Horizon has one, but I sewed half the lines before I remembered to use the automatic cutter....maybe I won't forget it from now on!
7)  Fold the piece of fabric along the center so all the openings are going up.
Home-made is so often better than store-bought.
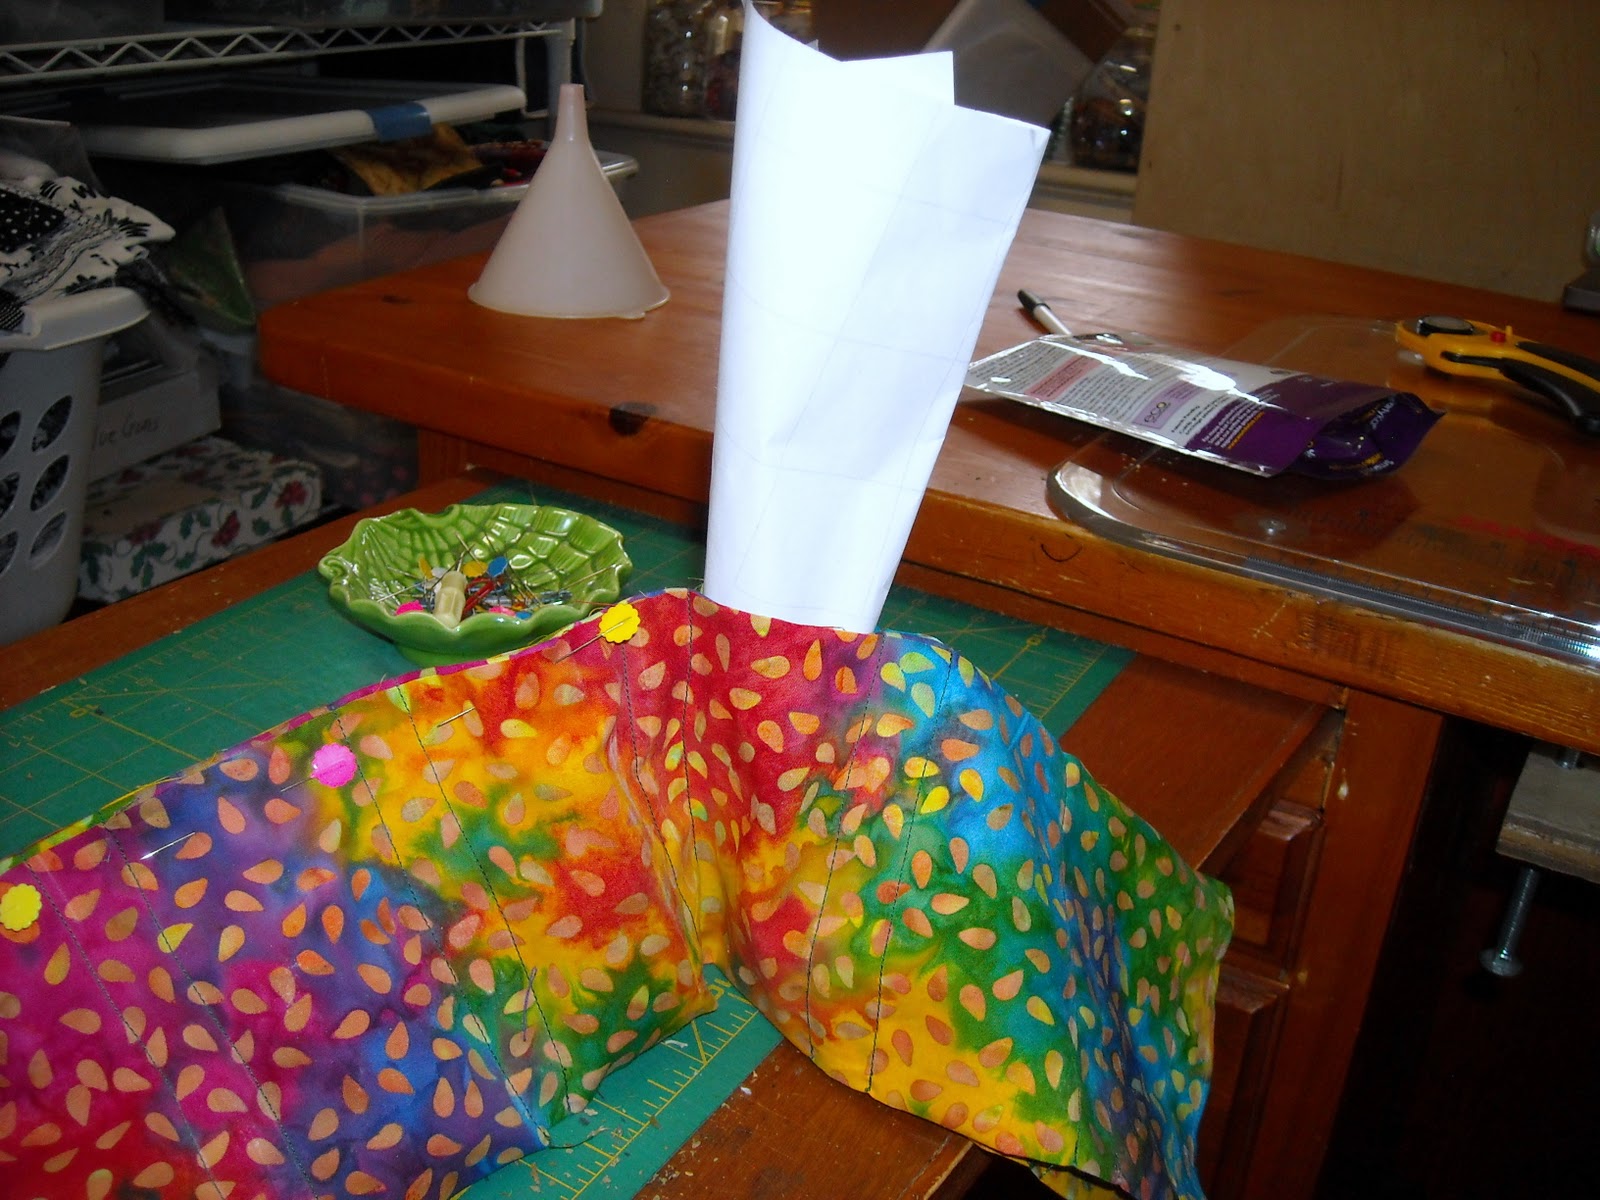
8)  I made a paper funnel to get the catnip into the bags. You can see the plastic one that did not work! Make the opening about the same size as the bag (2"). I just rolled a piece of scrap paper and taped it.
9)  Start at one end and fill the bags. I stuck my fingers down inside to sort of separate the layers in each bag, giving the catnip a place to go. 2 tablespoons is plenty for each bag...of course, I just eyeballed it!
I ran out of  'nip and have empty bags on the right end!
10) Pin the bags shut if you think they will spill as you're working along the row. In fact, you may want to do the filling over a box lid or tray to catch the extra catnip...you know I always make a mess!
Closing the bags
11)  Sew along each open edge with a long seam. You could backstitch at each intersection with the bag sides, but if you use a short stitch it's not really necessary.
12)  Now get out those pinking shears and cut all the bags apart!
Do you know where your pinking shears are???
13)  Cut in between the bags, too...it does not matter which way you cut first! 
Too cute!
14)  Yes, that's 3 pinked edges and one fold.
 I ran out of catnip, so those four bags were just cut off the end and can be filled & stitched shut later.
Shayla offers to help "clean up".
So there are 10 catnip bags to make my fur friends feel happy this holiday season, and it took less than an hour including selecting the fabric.


I don't have any doggie friends to make gifts for this year, but if you do, I suggest making a collar cover...just sew a tube that is longer than the collar so it scrunches up when you thread the collar end through. Pick a color that the owner likes...the dog is color-blind and does not care!
My DIL noticed that the napkins at an import store would make really cool bandanas. That would also be a good idea, because many dogs look great wearing one!


Hope your holiday sewing is going well...let me know if you have any good quick & easy ideas to share!