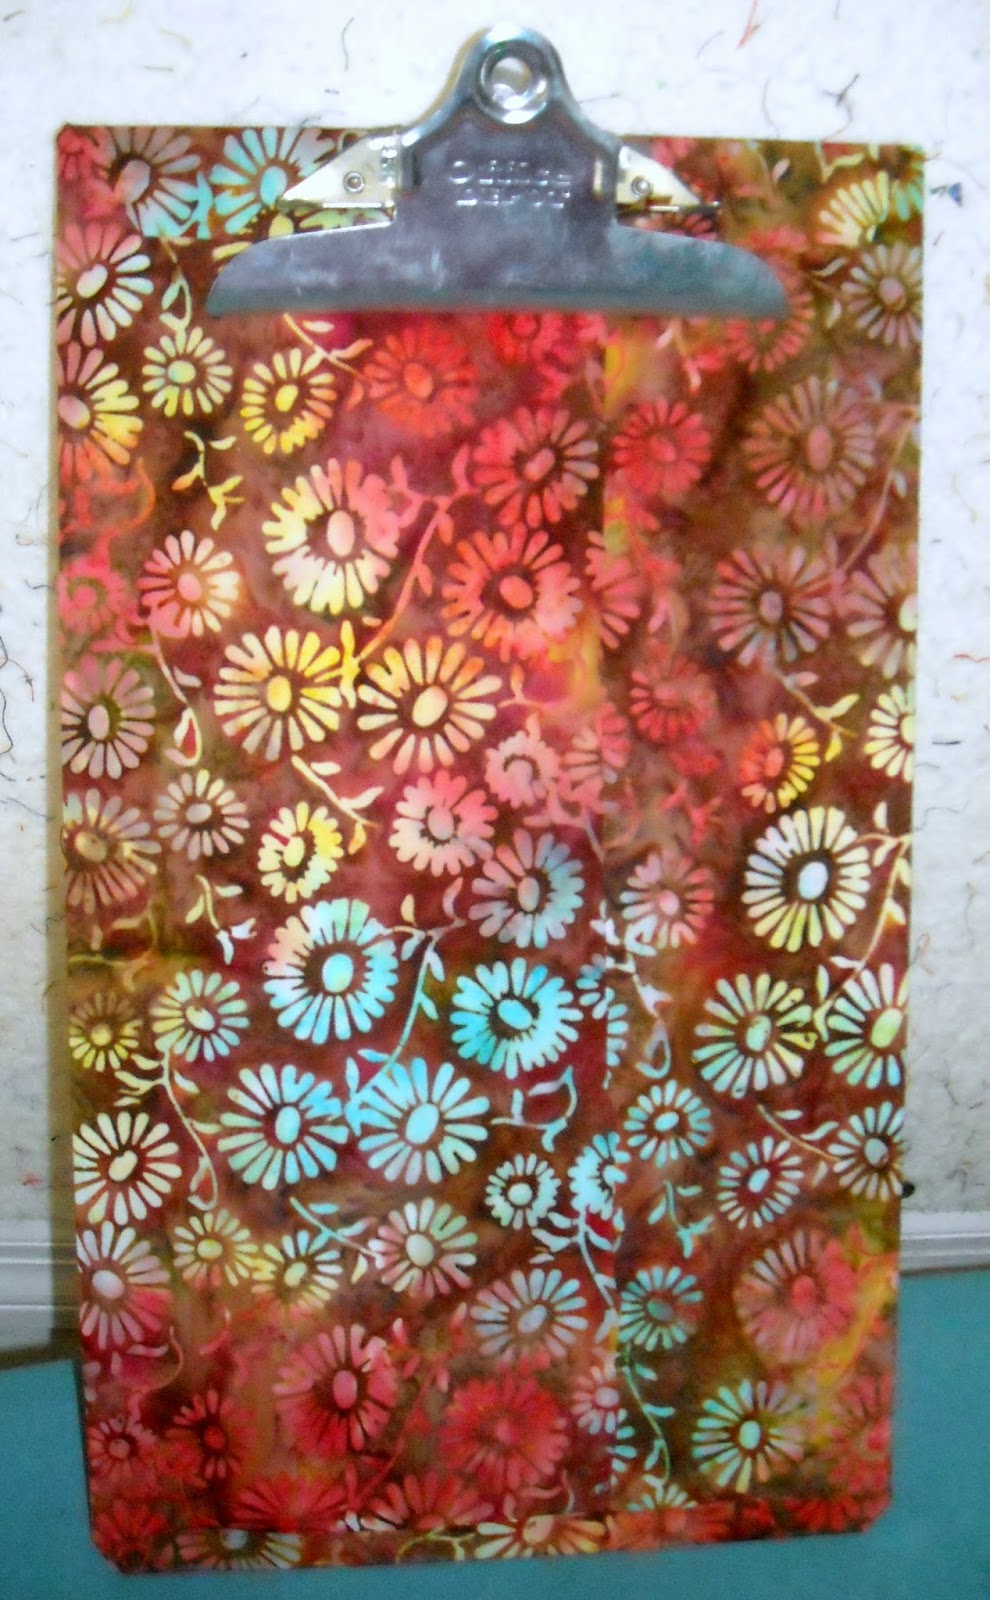
It's perfectly fine to use notes while presenting a quilt guild program, but it's even better to have those notes on a pretty clipboard. Here's a tutorial for making a fast cover. It took me less than 30 minutes. You can use any size clipboard for this.
SUPPLIES
Non-plastic clipboard
Fat quarter-ish piece of fabric
1/2 yard Wonder Under or other paper-backed fusible web
Iron
Scissors
PREP the FABRIC
Lay the clipboard on the fabric. There should be enough to fold the sides over to meet in the center (top to bottom) and an inch extra beyond the top and bottom. Check for direction of print, if you care!
 |
| Protect your ironing board with a piece of "release paper"...either parchment paper or paper removed from a previous WonderUnder project. |
 |
| You could use a rotary cutter, but you'll still need scissors later! |
 |
| Save this paper and see the bottom of this post for some ways to use it again. |
COVER the CLIPBOARD
 |
| Wrapping to the front |
 |
| Fold & slide! |
Stick your scissors between the front and back layers at each corner and snip up to the board.
 |
| Paper is between front and back fabric layers, sticking out at snipped corners |
 |
| Trim the sides even with the ends |
Fuse the fronts down BUT not all the way up to the clip!
Cut the bottom corners at a slight angle, then turn that edge up and fuse it in place.
 |
| Don't worry about this...trim it off! |
 |
| Snip and fold as best you can |
Put the release paper on top of the back fabric, hold the clip open, and finish fusing under and around the clip.
 |
| Trim the back first |
Turn the back fabric to the front and fuse in place. You are done!
 |
| Nobody is perfect! |
 |
| TA-DAH! |
There is iron-on vinyl that could be used for a nice finish, or one of the fabric protection sprays. I probably won't bother with those, but you may want to keep the clipboard looking really nice if it will be used often.
Or just cover it again if it gets dirty!
I am doing a lot with fusible web right now. If you'd like some more tutorials and ideas for no-or-low sewing projects, check out Laura Wasilowsi at Artfabrik or Frieda Anderson's website. You can see them on YouTube...just type a name in the search box. Melodie Johnson's blog also has some good tutorials listed in the side bar.
Have fun and let me know what you've been making lately!

Excellent! Makes for a nice looking clipboard. Guess us quilters will cover anything that doesn't move! Thanks for the tute.
ReplyDelete